I couldn’t explain why, but for weeks I’ve been daydreaming about chicken cutlets while too hypomanic to functionally cook. This week I decided to start cooking even though I’m not very functional, and I’ve realized that my tolerance for dysfunction has risen while I wasn’t paying attention. It’s actually been pretty easy, although the dish pile has accumulated somewhat. (My stress levels have been radically reduced of late by a new attitude of acceptance toward the dish pile.)
This is one of two chicken cutlet recipes I’ll eventually post in this space. The other will be the Maximalist chicken cutlet. This one, the Minimalist chicken cutlet, comes together in under fifteen minutes. It’s great for times when the capacity is low.
Ingredients
- 1 boneless skinless chicken breast per person (I used Wegmans pre-marinated lemon pepper chicken)
- All-purpose flour
- 1 egg (per 2 chicken cutlets)
- 1 pinch of salt per egg (*only* if *not* using pre-marinated chicken)
- Panko or other breadcrumbs
- Canola oil for frying
Pounding the chicken
Put one chicken breast in a gallon Ziploc bag.
Use a blunt instrument (ideally a meat tenderizer, but you could just as effectively use a mallet; I used a pestle) to flatten the meat to about 1/3-1/4 inch thickness. Start at the top and work downwards and outwards. Focus more on keeping the thickness even throughout than getting it as thin as physically possible.
Flatten the chicken breasts one at a time. Each chicken is different, and its musculature will be different. So they are likely to all be shaped differently. This isn’t necessarily a craftsmanship thing.
Dredging the chicken
For this step I take out a shallow bowl (for the egg) and a quarter sheet pan (for the dry ingredients, which I lay down side by side). If you would strongly prefer not to have your flour and breadcrumbs on the same tray (and potentially mixed together a bit), you can use two plates instead. Since this feels like a lot of dishes to me, I always make sure to use things I can put in the dishwasher.
First, put the flour and breadcrumbs on your tray or plates. Try to make sure you’ve laid down enough surface area for your pounded chicken cutlets. You’ll need about a quarter inch depth of flour and a generous half inch depth of breadcrumbs. If you’re making multiple chicken cutlets, you may need to top these up mid process.
Next, crack your egg/s into the bowl and beat loosely with a fork until no streaks remain. If you’re *not* using pre-marinated chicken, add the salt and beat until well incorporated.
Coat the chicken cutlet thoroughly in the flour first. This gives the egg mixture a textured surface to adhere to.
Dip the flour-coated chicken cutlet into the egg and turn it around until it’s fully covered in a thin coating of egg mixture. Hold the cutlet up above the egg bowl for a few seconds for the excess egg to drip off.
Finally, lay the chicken cutlet down on the breadcrumbs and press firmly down. Flip, rearrange the breadcrumbs if needed, and coat the other side. If some areas seem bare, pile breadcrumbs on top of them and press down with your hands. Continue until the entire chicken cutlet is abundantly coated. Personally, I was surprised at how much volume of breadcrumb this took.
Frying the chicken
Choose a pan that’s deep enough to hold a 1 inch depth of oil. I like to use the smallest possible radius to fit the pounded chicken cutlets, because I use the smallest volume of oil that way. It makes my life easier when it’s time to discard the used oil.
Pour, as I said, about an inch depth of oil into the pan. Place it over medium heat (my gas stove goes to 7 and I use 4) and preheat it until you see heat plumes in the liquid. Throw a few breadcrumbs in and see if they fizzle. If they do, the oil is ready.
Use tongs to gently lower the chicken cutlet into the pan. Leave it for a few minutes. It’s ready to flip when the edges are deep golden brown. Keep in mind that the side you cannot see will be *less* brown than the edges.
Flip the chicken cutlet *away* from you like a pancake. If it curls to form a dome shape, press the center down with the tongs continuously as it fries. Continue until both sides are deeply golden. Trust that by this time the chicken will be cooked through.
For the uncertain, my oil is hot enough that my chicken cutlets cook through in under five minutes even when I don’t pound them very thinly.
If you like, you can rest and drain the freshly fried chicken on paper towels or (my preference) a wire rack laid on a baking sheet.
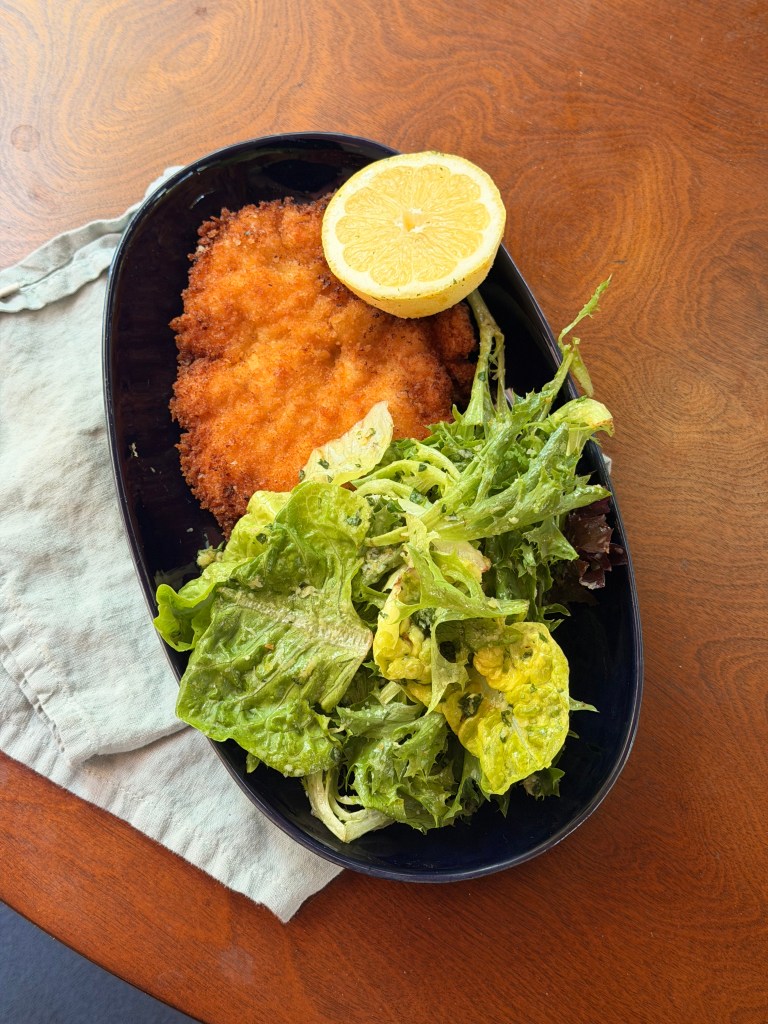
Serving suggestion: lemony salad (as pictured)
While the chicken rests, combine lemon zest, lemon juice, salt, and extra virgin olive oil in a mixing bowl. The lemon zest acts as an emulsifier if you mix well enough. Add the salad greens of your choice to the bowl and toss to coat. I use whatever mixed greens they’re selling at the farmers’ market.
If you like, add grated parmigiano and toss to coat. I always do.
Plate the chicken cutlet with a generous squeeze of lemon juice and the salad on top.

Leave a comment