This cookie is an homage to my local miller Red Tail Grains, who sells a weekly mystery blend called “Miller’s Choice” made of the discard that comes off the mill when they’re changing grains. Miller’s Choice is an adventure, genuinely a different experience every time. I show up early at the farmer’s market to beat other people to the weekly bag in a competition I’ve made up entirely inside my own head (for all I know I’m the only fanatic at my local market). Right now I have four different vintages. I use it every chance I get.
My recipe is based on the method described in Smitten Kitchen’s twice-baked shortbread recipe, which in turn comes from Alice Medrich’s book Pure Dessert. I’ve gone very specific with all the ingredients to create the ultimate high energy, super nutritious, not too sweet cookie. I’ve also scaled up the recipe for both a larger pan and a thicker cookie.
As Deb mentions in her write up, rest time before baking is absolutely non-negotiable. I’ve iterated this cookie over 30 times since Lúnasa last year and every time I bake sooner than 6 hours of rest, I regret it. The cookies completely fall apart when the flour and sugar don’t get their full hydration. It makes the difference between a third of the cookies being broken and literally none.
The best cadence is to mix the dough in the evening and bake the next day. In a rush, you could mix the dough first thing in the morning and bake in the afternoon. But this is a cookie that benefits from slowing down. It’s been a real lesson for me – honestly a great learning modality for one of my greatest struggles!
An additional step I recommend that *isn’t* mentioned on Smitten Kitchen is that these cookies, which don’t really bake so much as dry out in the oven, benefit from an overnight rest in the open air to regain their moisture. I call this the “curing” step. This makes the shortbread feel buttery, toothsome, and robust rather than crumbly and dry. It does affect the crumb and the bite.
If you tend to dislike shortbread for its dry texture, you may find it a totally different experience after leaving the cookies out on the counter on a rainy day. I let mine rest on the screened in porch in the open forest air.
Ingredients
- 5 oz pat Banner Butter Cultured Unsalted
- 5 oz pat Banner Butter Cultured Salted
- 50 grams maple sugar
- 80 grams organic cane sugar (golden), plus extra for topping
- 310 grams Red Tail Grains’ Miller’s Choice (or your own blend of all purpose, rye, spelt, and cornmeal)
Preparing the dough
Line a 9 x 13 inch baking pan with parchment paper. I use precut baking sheet size parchment, and I use Cloudy Kitchen’s fold and cut method for easy lifting out of the pan later.
Melt both butters together. I do this in the saucepan, you can use the microwave if you like.
In a mixing bowl, stir together the maple sugar, cane sugar, and flours until they look more or less homogenously mixed.
Add the melted butter all at once, then mix everything together until it’s evenly hydrated.
Tip all the dough into the prepared pan. It will be lumpy. Loosen the lumps and try to spread them out so there’s an even-ish amount of dough everywhere. Then press the lumps flat until the cookie is more or less an even sheet. Don’t expect it to be perfect.
Sprinkle the surface with just enough cane sugar that it leaves a sheen of sparkle. You will know there’s enough sugar when the surface looks matte instead of shiny when viewed at an angle. The sugar doesn’t need to be opaque on the surface, keep it light.
Let the dough rest at room temperature for at least 6 hours, but honestly, the longer the better.
Baking the cookies
Preheat the oven to 300˚F / 150˚C.
Bake the pan of cookie dough for 36 minutes.
Take the pan out of the oven and rest it on the stovetop or counter for 20 minutes.
Lift the parchment paper out of the 9×13 pan and place it down on a full sized baking sheet.
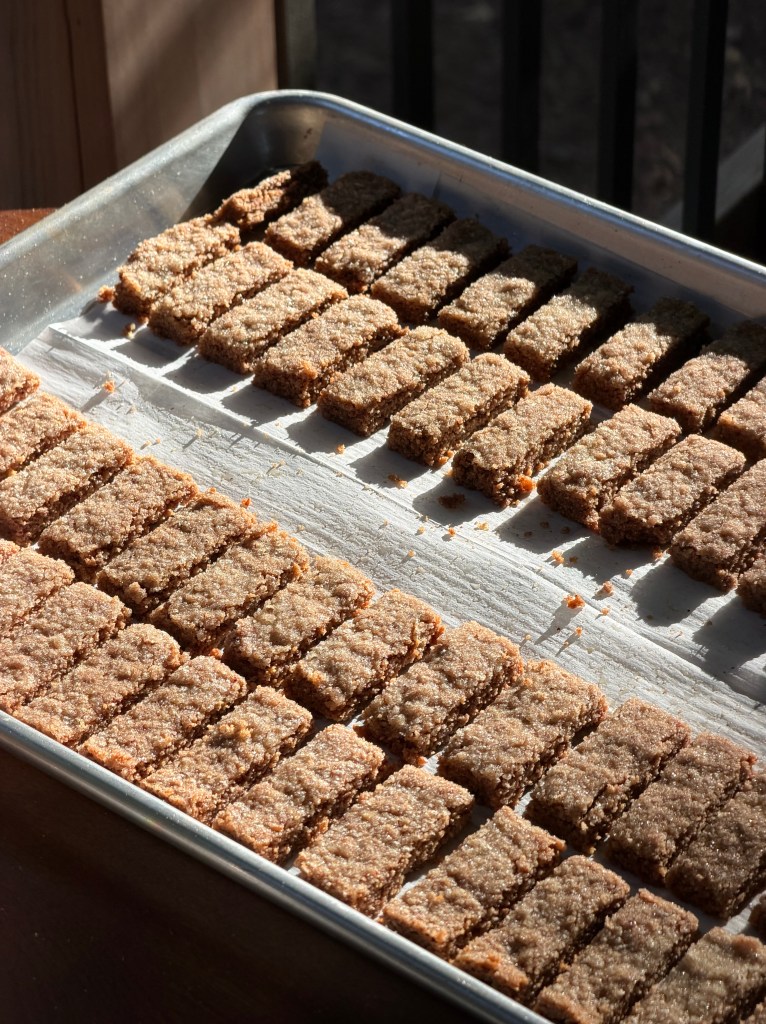
Using a sharp knife, cut the cookies into fingers of your preferred size. With the cookie in a landscape orientation, I usually cut 4 rows first, then slice crosswise into approximately half-inch widths. It’s fun to make a few odd pieces.
Scoot the cookies around so they have about a quarter inch of space between them. Some of them may need to leave their rows for everything to be spaced out nicely. Try your best to scoot them instead of picking them up, because they’re still delicate at this stage.
If your cookies break easily, don’t throw them out! The broken ones get a deeper golden color, so they’re special. The crumbs of these cookies also makes a *killer* cheesecake crust.
Once you’ve spaced out all the cookies on the sheet pan, bake them for another 36 minutes. They should come out deep golden.
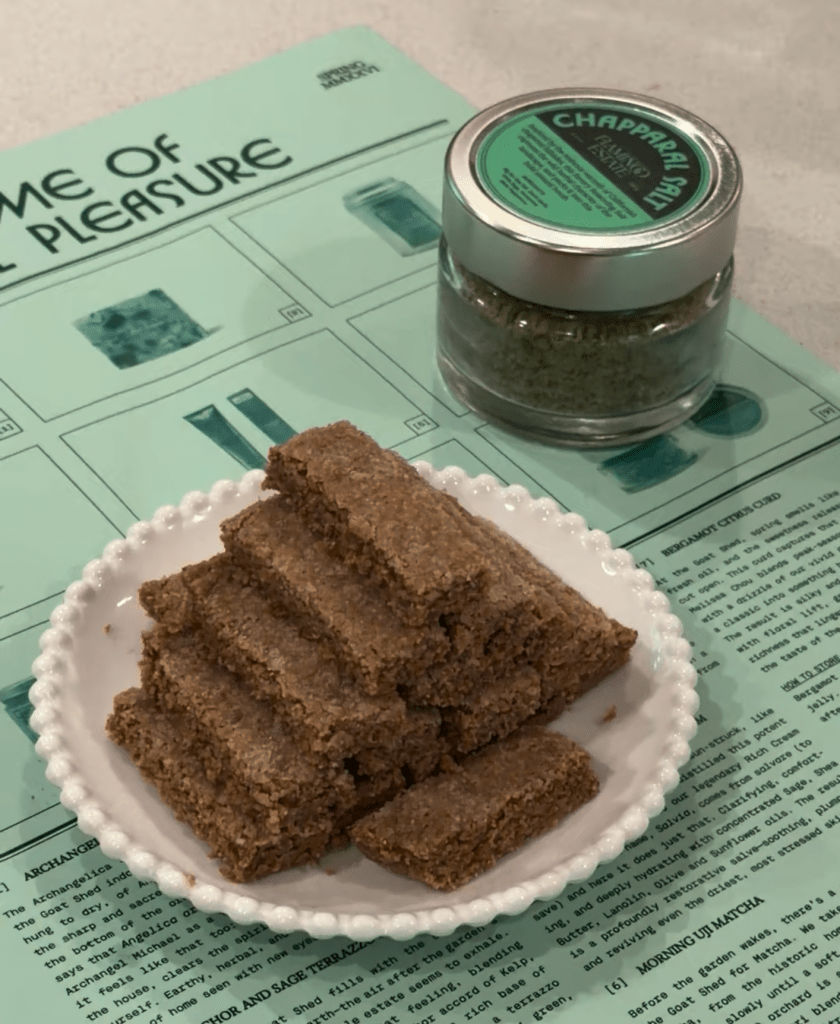
Cool to room temperature before eating – but know they won’t reach their peak deliciousness until they’ve sat out for 24 hours. It can’t be rushed.
These don’t need to be stored in an airtight container unless you’re worried about pests or pets. I keep mine out on the table for easy snacking.

Leave a comment